Where is the best place to take product photos?
Importance of Editing and Retouching in Product Photography
Editing and retouching are essential components of creating striking and professional product photography. These processes allow photographers to enhance the visual appeal of their images, correct any imperfections, and ensure that the products are presented in the best possible light. Through editing and retouching, photographers can adjust the lighting, colors, contrast, and sharpness of the images, resulting in captivating photographs that effectively showcase the products.
Moreover, editing and retouching play a crucial role in maintaining consistency and coherence across a set of product photos. By applying similar editing techniques to all images, photographers can create a unified look and feel that reinforces the brand's identity and strengthens the overall visual impact of the product portfolio. Additionally, editing and retouching can help highlight specific features or details of the products, making them more appealing to potential customers and increasing the likelihood of driving sales.
Basic vs. Advanced Editing Techniques
When it comes to editing techniques in product photography, there is a clear distinction between basic and advanced methods. Basic editing typically involves straightforward adjustments such as cropping, resizing, and enhancing brightness and contrast. These techniques are essential for beginners or those looking to quickly improve the quality of their product photos with minimal effort. However, while basic editing can significantly enhance images, advanced editing takes product photography to the next level by incorporating more intricate processes like color grading, frequency separation, and composite editing. These advanced techniques require a deeper understanding of editing software and can help create more polished and professional-looking product images. Advanced editing allows for greater creativity and control over the final outcome, making it a valuable skill for those aiming to excel in the field of product photography.
Top Tips for Taking Professional Product Photos
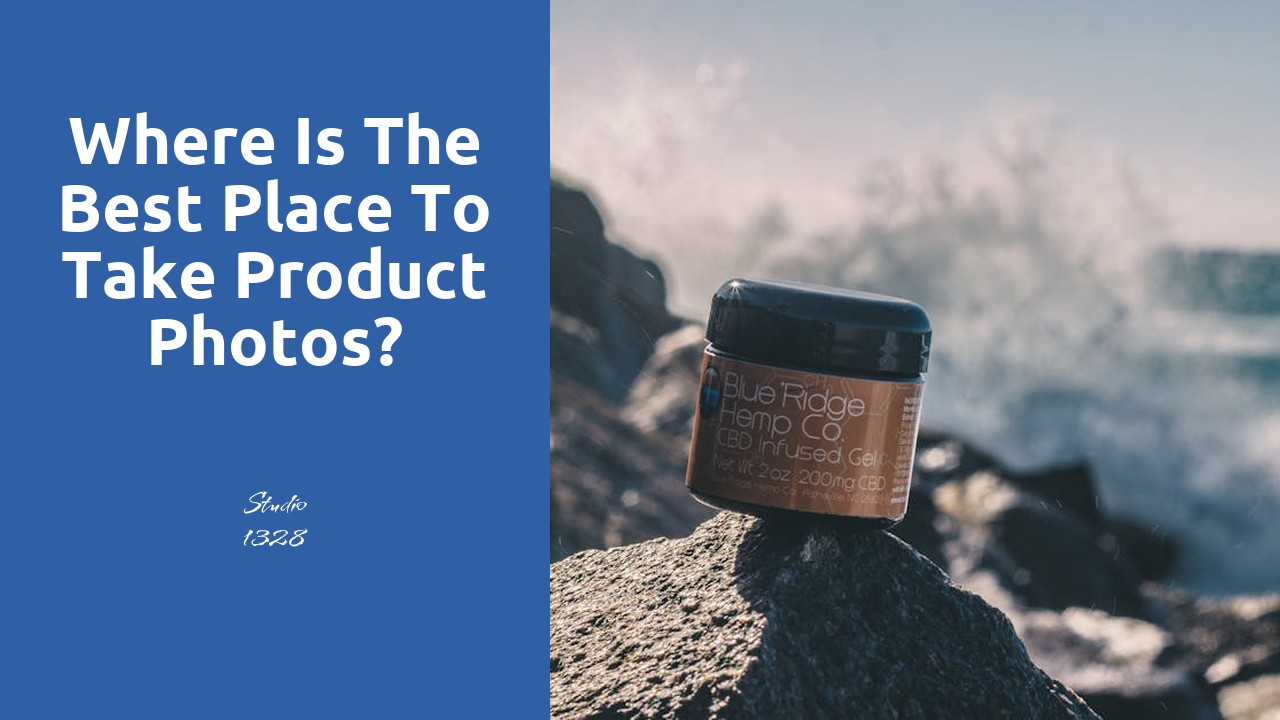
When it comes to capturing appealing product photos, lighting plays a crucial role. Natural light is often the best option for product photography. Seek out areas with soft, indirect sunlight to avoid harsh shadows on your products. If natural light is not available, consider investing in a lighting kit with softboxes or diffusers to achieve a similar effect. Experiment with different angles and intensities to find what works best for your specific products.
Another key tip for professional product photography is to pay attention to your background. Opt for clean, uncluttered backgrounds that highlight your product without distractions. Solid colored backdrops or textured surfaces can work well, depending on the style you are aiming for. Remember that the background should complement your product and not compete for attention. By implementing these tips, you can elevate your product photography and create stunning images that attract customers and showcase your products effectively.
Using Tripods and Remote Shutter Release
Using tripods and remote shutter release are essential tools in product photography. The stability provided by a tripod helps to ensure sharp, clear images, especially important when capturing detailed product shots. It eliminates camera shake that can occur when shooting handheld, resulting in professional-looking images that highlight the product's features effectively. Additionally, using a remote shutter release allows photographers to take photos without physically touching the camera, further reducing the risk of introducing any blurriness or distortion to the image. This set-up promotes consistency and precision in product photography, producing high-quality results that showcase the products at their best.
By utilizing tripods and remote shutter release in product photography, photographers can maintain control over composition and framing without the limitations of handheld shooting. The ability to adjust the camera's position and angle precisely allows for better framing of the product, highlighting key details and emphasizing its qualities. This method also aids in achieving consistent lighting and focus throughout the photoshoot, ensuring that each product image is uniform in quality and style. Overall, the use of tripods and remote shutter release in product photography enhances the overall professionalism and visual appeal of the final product images.
Effective Ways to Showcase Product Details
To effectively showcase product details in product photography, utilizing close-up shots can be incredibly beneficial. These shots allow viewers to grasp the intricate features and qualities of the product, highlighting its unique selling points. By using macro photography techniques, you can capture intricate details that might go unnoticed at a distance, enabling potential customers to have a closer look at the product before making a purchase decision. With precise focus and careful framing, close-up shots can elevate the overall quality of your product photos and create a lasting impression on your audience.
CloseUps and Macro Photography Techniques
Close-ups and macro photography techniques are essential aspects of product photography. These techniques allow the photographer to capture intricate details of the product, showcasing its texture, color, and quality effectively. By using close-up shots, the audience can get a closer look at the product, creating a more engaging and immersive experience. This level of detail can significantly impact the viewer's perception of the product, emphasizing its unique features and setting it apart from competitors.
When utilizing macro photography techniques in product photography, it's crucial to focus on achieving sharp and clear images. The depth of field is especially critical in macro shots, as even the slightest movement can result in a blurry image. By using a narrow aperture and adjusting the focus carefully, photographers can ensure that the key details of the product are in sharp focus. This meticulous approach enhances the overall quality of the product photos, making them more visually appealing and impactful to potential customers.
FAQS
Where is the best place to take product photos?
The best place to take product photos is in a well-lit area with minimal distractions. Natural light is ideal for showcasing products in their true colors.
How important is editing and retouching in product photography?
Editing and retouching play a crucial role in enhancing product photos by adjusting lighting, colors, and removing imperfections to make the products look more appealing.
What are the differences between basic and advanced editing techniques in product photography?
Basic editing techniques involve adjusting brightness, contrast, and cropping, while advanced editing techniques may include background removal, color correction, and special effects to elevate the overall look of the products.
What are some top tips for taking professional product photos?
Some top tips for taking professional product photos include using tripods and remote shutter release for stability, experimenting with different angles and compositions, and focusing on showcasing the product details effectively.
How can close-ups and macro photography techniques help in showcasing product details?
Close-ups and macro photography techniques can help highlight intricate details, textures, and features of the products, providing a closer look for potential customers to make informed decisions.
Related Links
Product PhotographyHow much should product photography cost?
What is best for product photography?
How much does product photography cost Toronto?
What is the best way to take product photos?
What is the best product photography set up?
Who is the best product photographer in the world?
How much does product photography cost?